


Slm photoshop sevenleri yine güzel bir photoshop dersimizle birlikteyiz. Bu photoshop dersimizde sizlere Photoshopta Arabayı Modifiye Etme photoshop dersi üzerinde duracağız. Photoshopta Arabayı Modifiye Etme dersini anlayacağınızı düşünerek photoshop dersimize başlıyoruz.
Photoshopta Arabayı Modifiye Etme dersi için uygun resimler aşağıdadır.


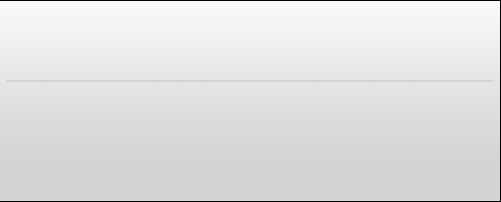
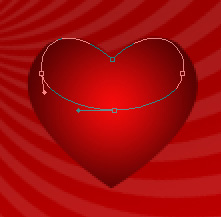
Şimdi Şekilimizi tutarak arabamızın üstüne bırakıyoruz..
Sonra Ctrl+T yaparak arabanın tam olarak neresinde durmasını istiyosak boyutlandırarak ayarlıyoruz..

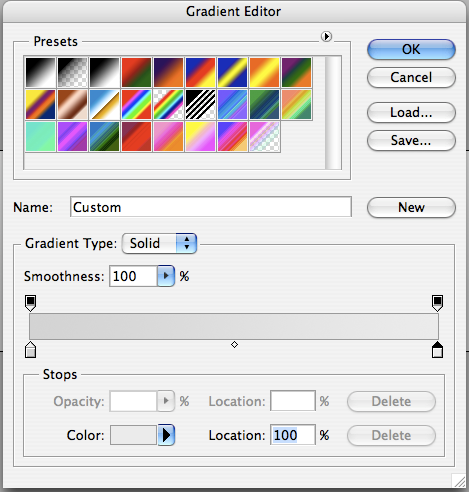
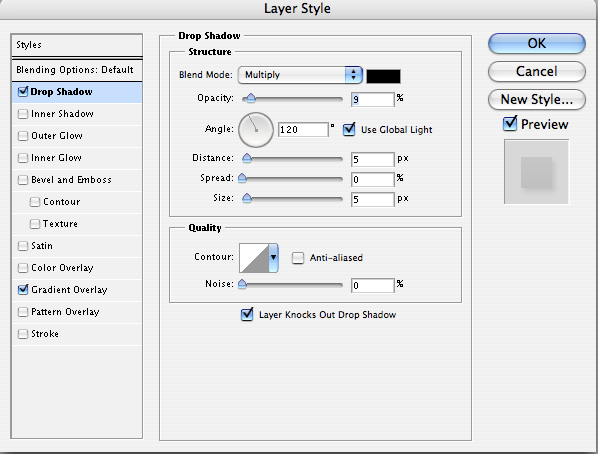
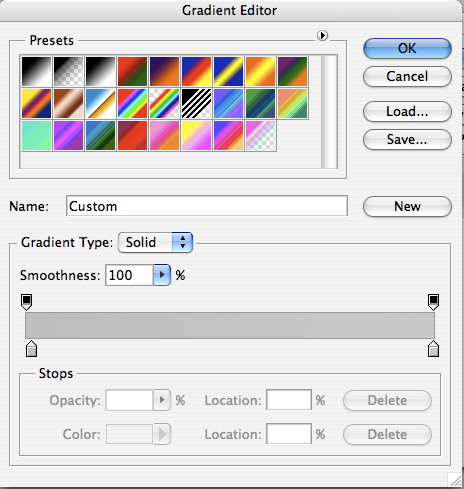
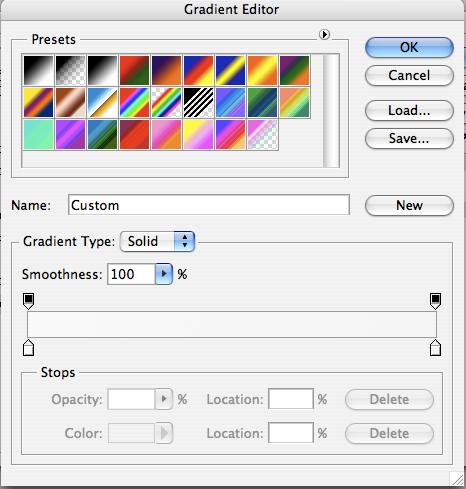
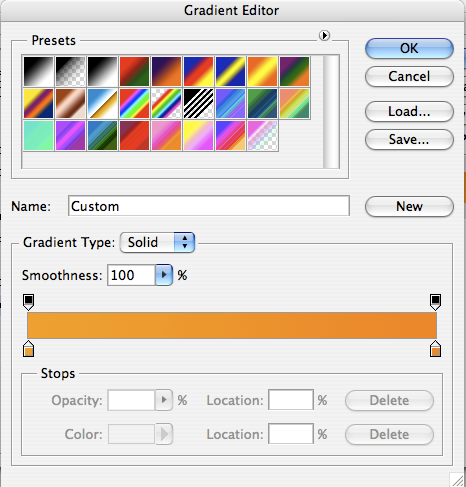
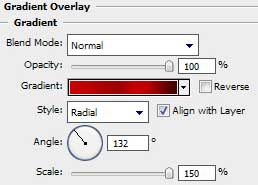
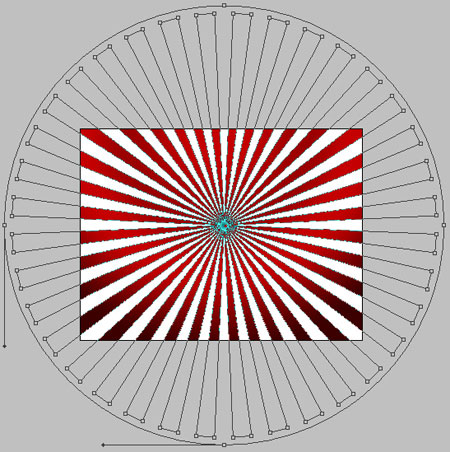
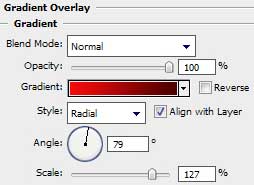
Layer > Layer Style > Blending Options'a Gelerek Blending Mode'yi Multiply olarak Ayarlıyor ve opacity'i 70'lere kadar düşürüyoruz.
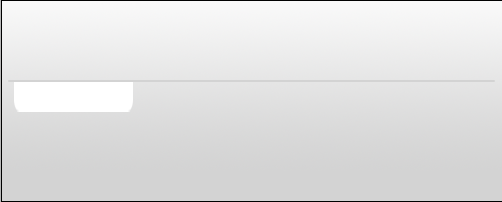
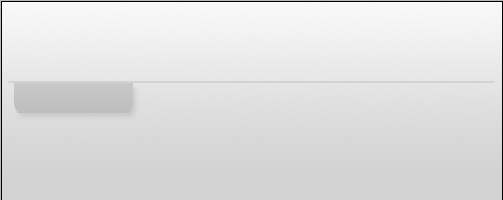
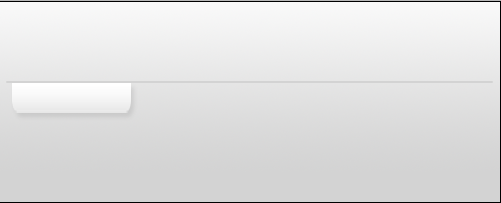
Daha Sonra Rectangular Marquee Tool yardımıyla aracın dısında kalan kısmı temizliyoruz.
İşte Sonucumuz

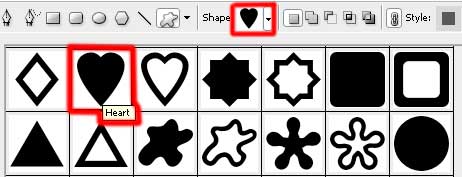
Şimdi Şekilimizi tutarak arabamızın üstüne bırakıyoruz..
Sonra Ctrl+T yaparak arabanın tam olarak neresinde durmasını istiyosak boyutlandırarak ayarlıyoruz..
Layer > Layer Style > Blending Options'a Gelerek Blending Mode'yi Multiply olarak Ayarlıyor ve opacity'i 70'lere kadar düşürüyoruz.
Daha Sonra Rectangular Marquee Tool yardımıyla aracın dısında kalan kısmı temizliyoruz.
İşte Sonucumuz


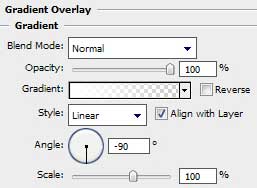
 You use the shape tools to draw lines, rectangles, rounded rectangles, and ellipses in an image. In Photoshop, you can also draw polygons and create custom shape libraries to reuse and share custom shapes.
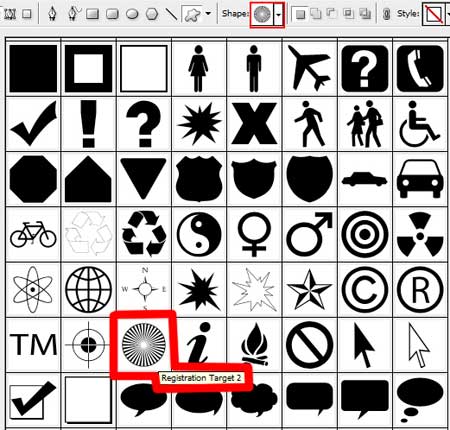


